 then
then  Add DIXIE CRYSTALS to Home Screen

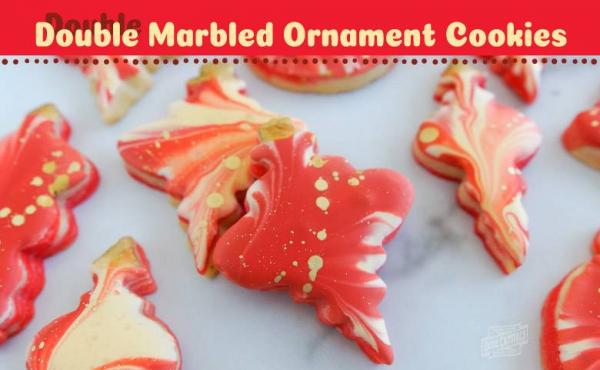
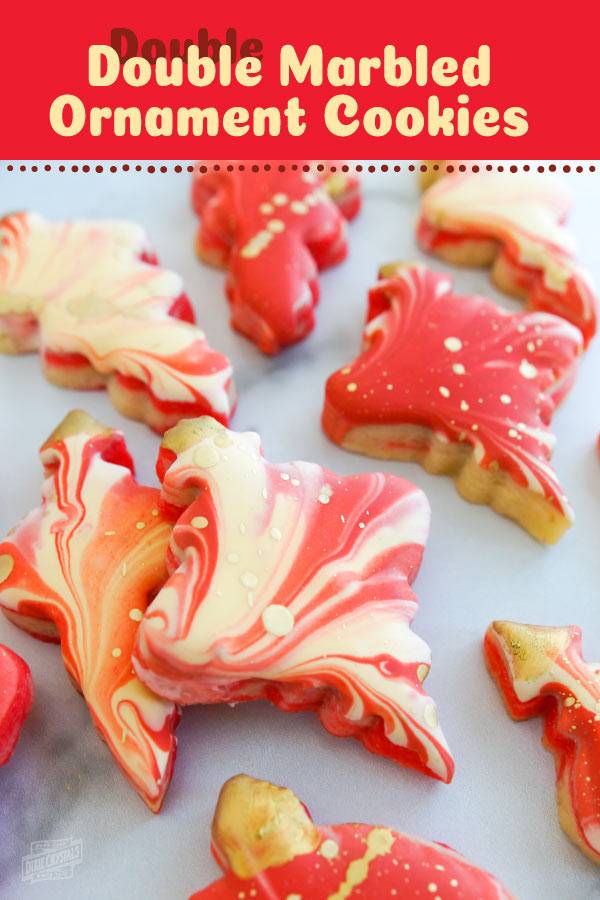
Double Marbled Ornament Christmas Cookies

Our friend and brand ambassador Bridget Edwards is back again, this time to show us an amazing cookie decorating technique just in time for the holidays. These doubled marbled ornament cookies are both beautiful and delicious and the perfect edible gift to give family and friends during the Christmas season.
And now, here's Bridget from Bake at 350!
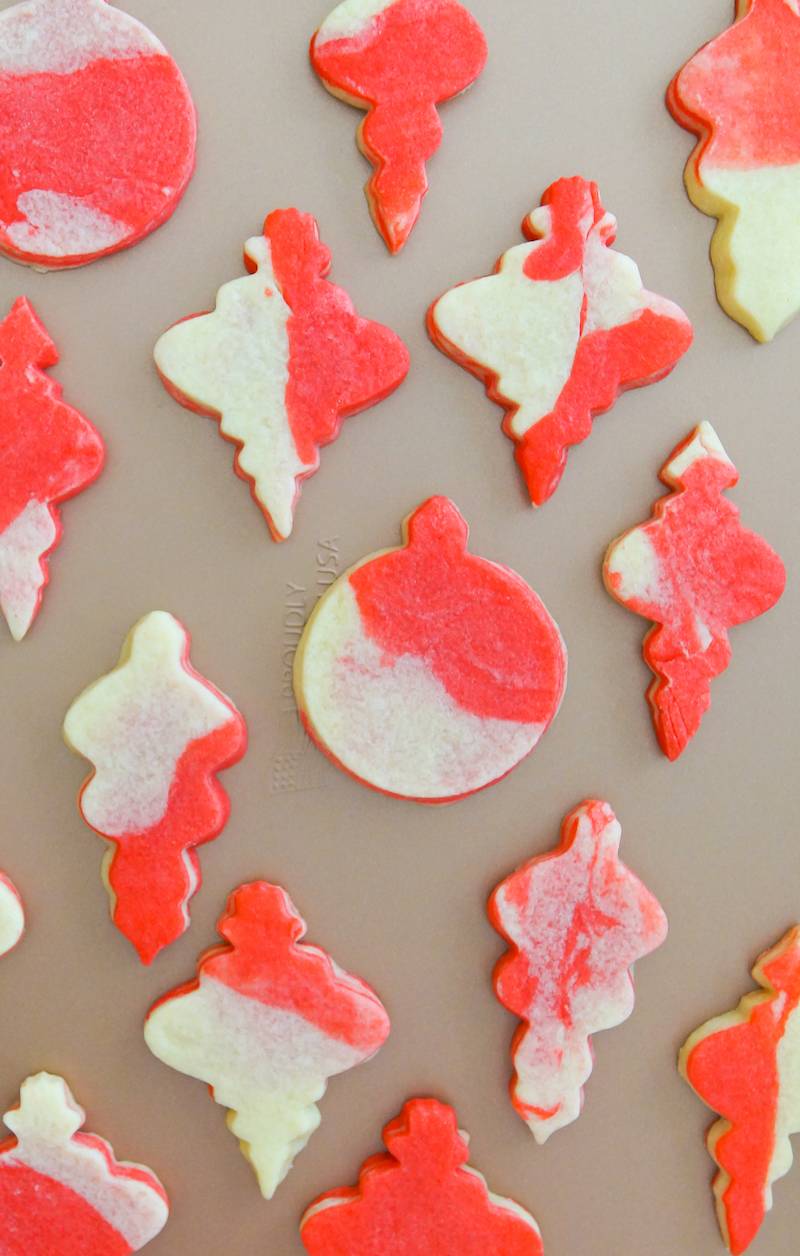
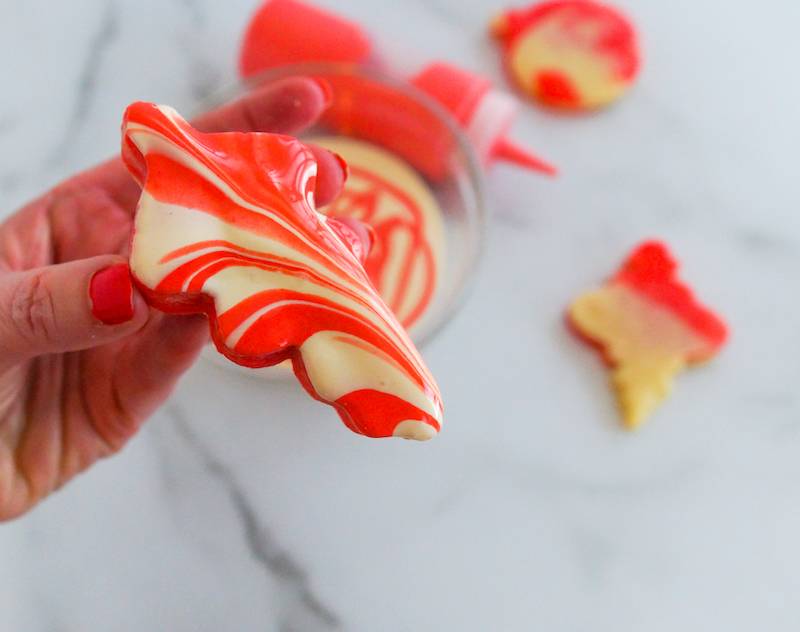
Christmas is the perfect time to pull out all the stops with cookie decorating. These double marbled cookies use two simple techniques to create some spectacular cookies! They are mini works of art.
Here’s what you’ll need for decorating:
- Dixie Crystals Royal Icing
- Ivory gel paste food coloring
- Red gel paste food coloring
- Gold luster dust, (optional)
- Clear alcohol, such as Everclear or vodka, (optional)
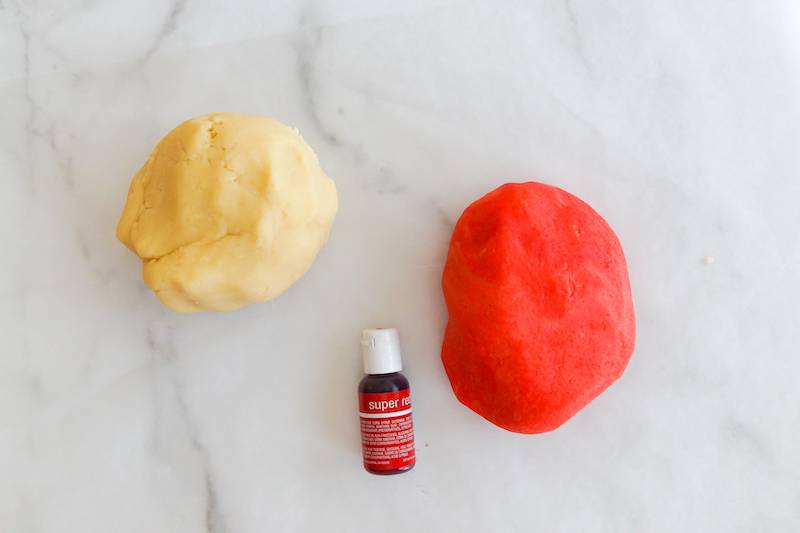
First, we’ll make marbled cookie dough. Make the base dough from the almond cut-out cookie recipe below. Divide the dough into two portions and tint one portion with red gel paste food coloring. You can use any color combination your heart desires, just be sure to use gel paste colorings.
Tear off portions of each dough and press together, kneading lightly to combine. Take care not to mix them – think of Play-Doh – you don’t want to create a new color, just swirl them.
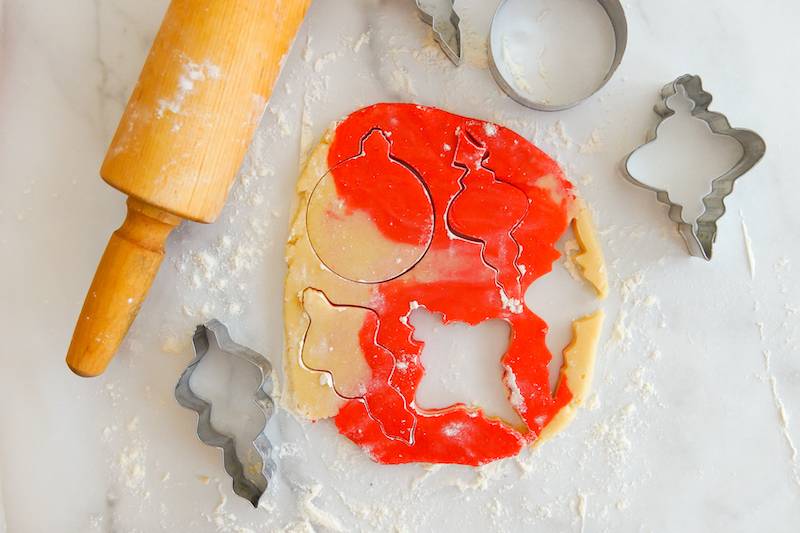
On a floured surface, roll out to 3/8”. Pop the cut-out shapes in the freezer for 5 minutes before baking to help keep them from spreading.
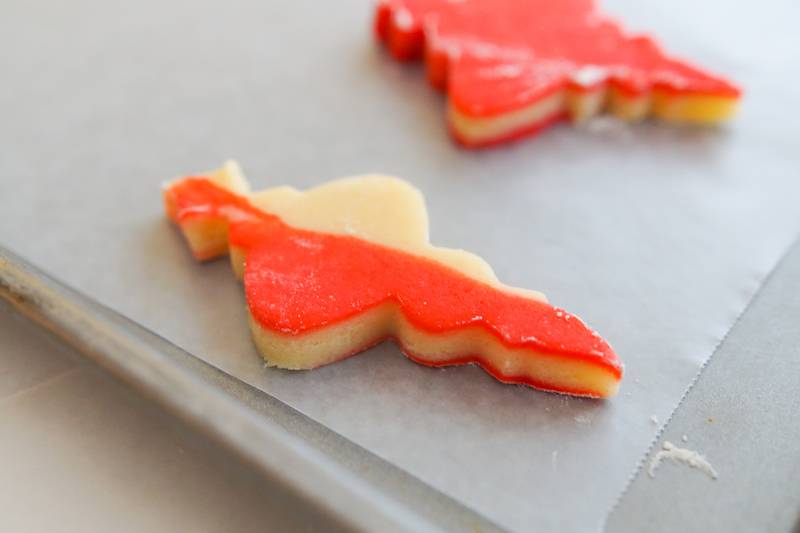
Press the dough gently together one time and reroll. To keep the colors from getting muddled, reroll only one time. Repeat with the remaining dough, breaking off portions as you go.
Once the cookies are baked and cooled, it’s time for icing. Make royal icing and tint in ivory and red, or any colors you choose. Again, we’re using gel paste food coloring. A little goes a long way.
Thin each color with water, a bit at a time, until you can drop a ribbon of icing back into the bowl, and it disappears in a 5-second count. Cover with a damp dishtowel and let rest for a few minutes. Stir gently, popping any large air bubbles. Transfer some of each color into separate squeeze bottles.
Hint: don’t combine all of your icing at once. You’ll probably need a few fresh bowls.
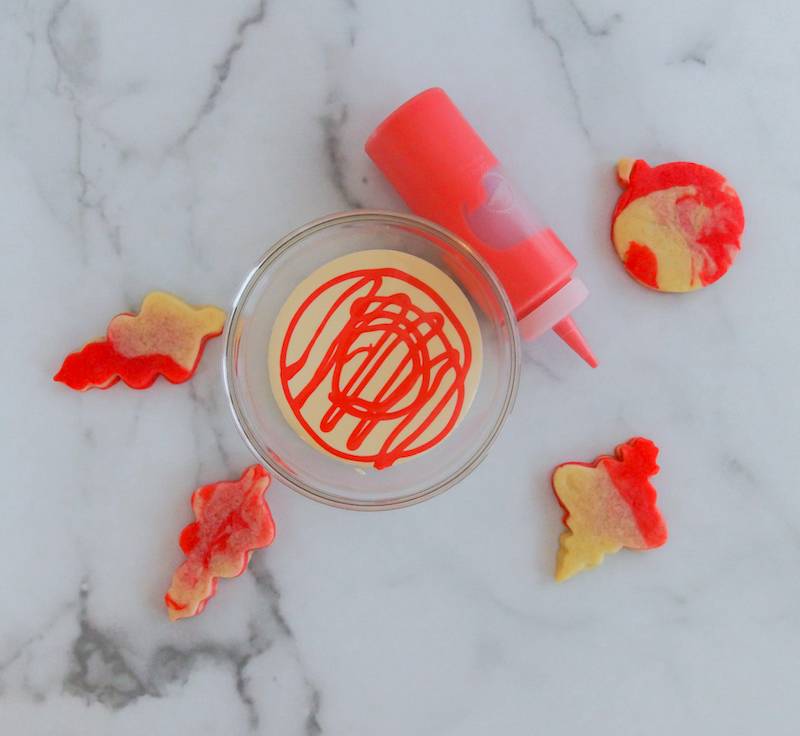
Pour one color into a bowl larger than your cookies. Squeeze the contrasting color from the squeeze bottle in a random pattern on top.
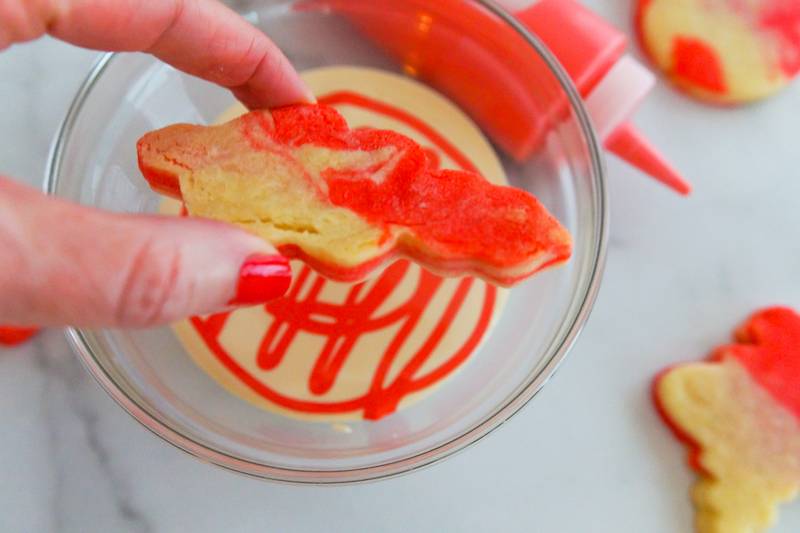
Dip the tops of the cookies into the icing, pull the cookie up and tilt to release the extra icing. Shake the cookie if needed to distribute evenly. Use a toothpick to pop air bubbles and, if necessary, clean up edges.
Let the cookies dry uncovered for 6-8 hours or overnight.
The next day, add gold accents if desired. Use an FDA-approved gold luster dust and clear alcohol, such as vodka or Everclear. Stir about 1/2 teaspoon of each together to make a paint. Adjust as needed with more dust or alcohol.
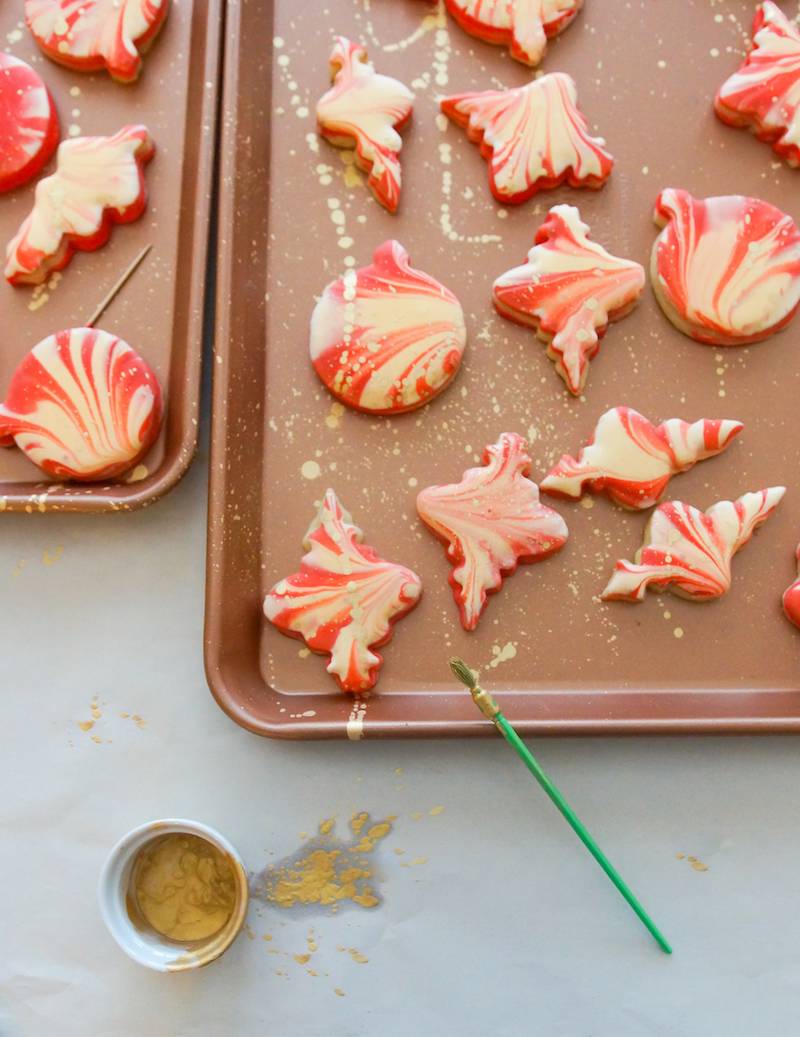
Use a food-only small paintbrush (a child’s paintbrush size is perfect) to flick the “paint” onto the cookies. Warning: it WILL be messy.
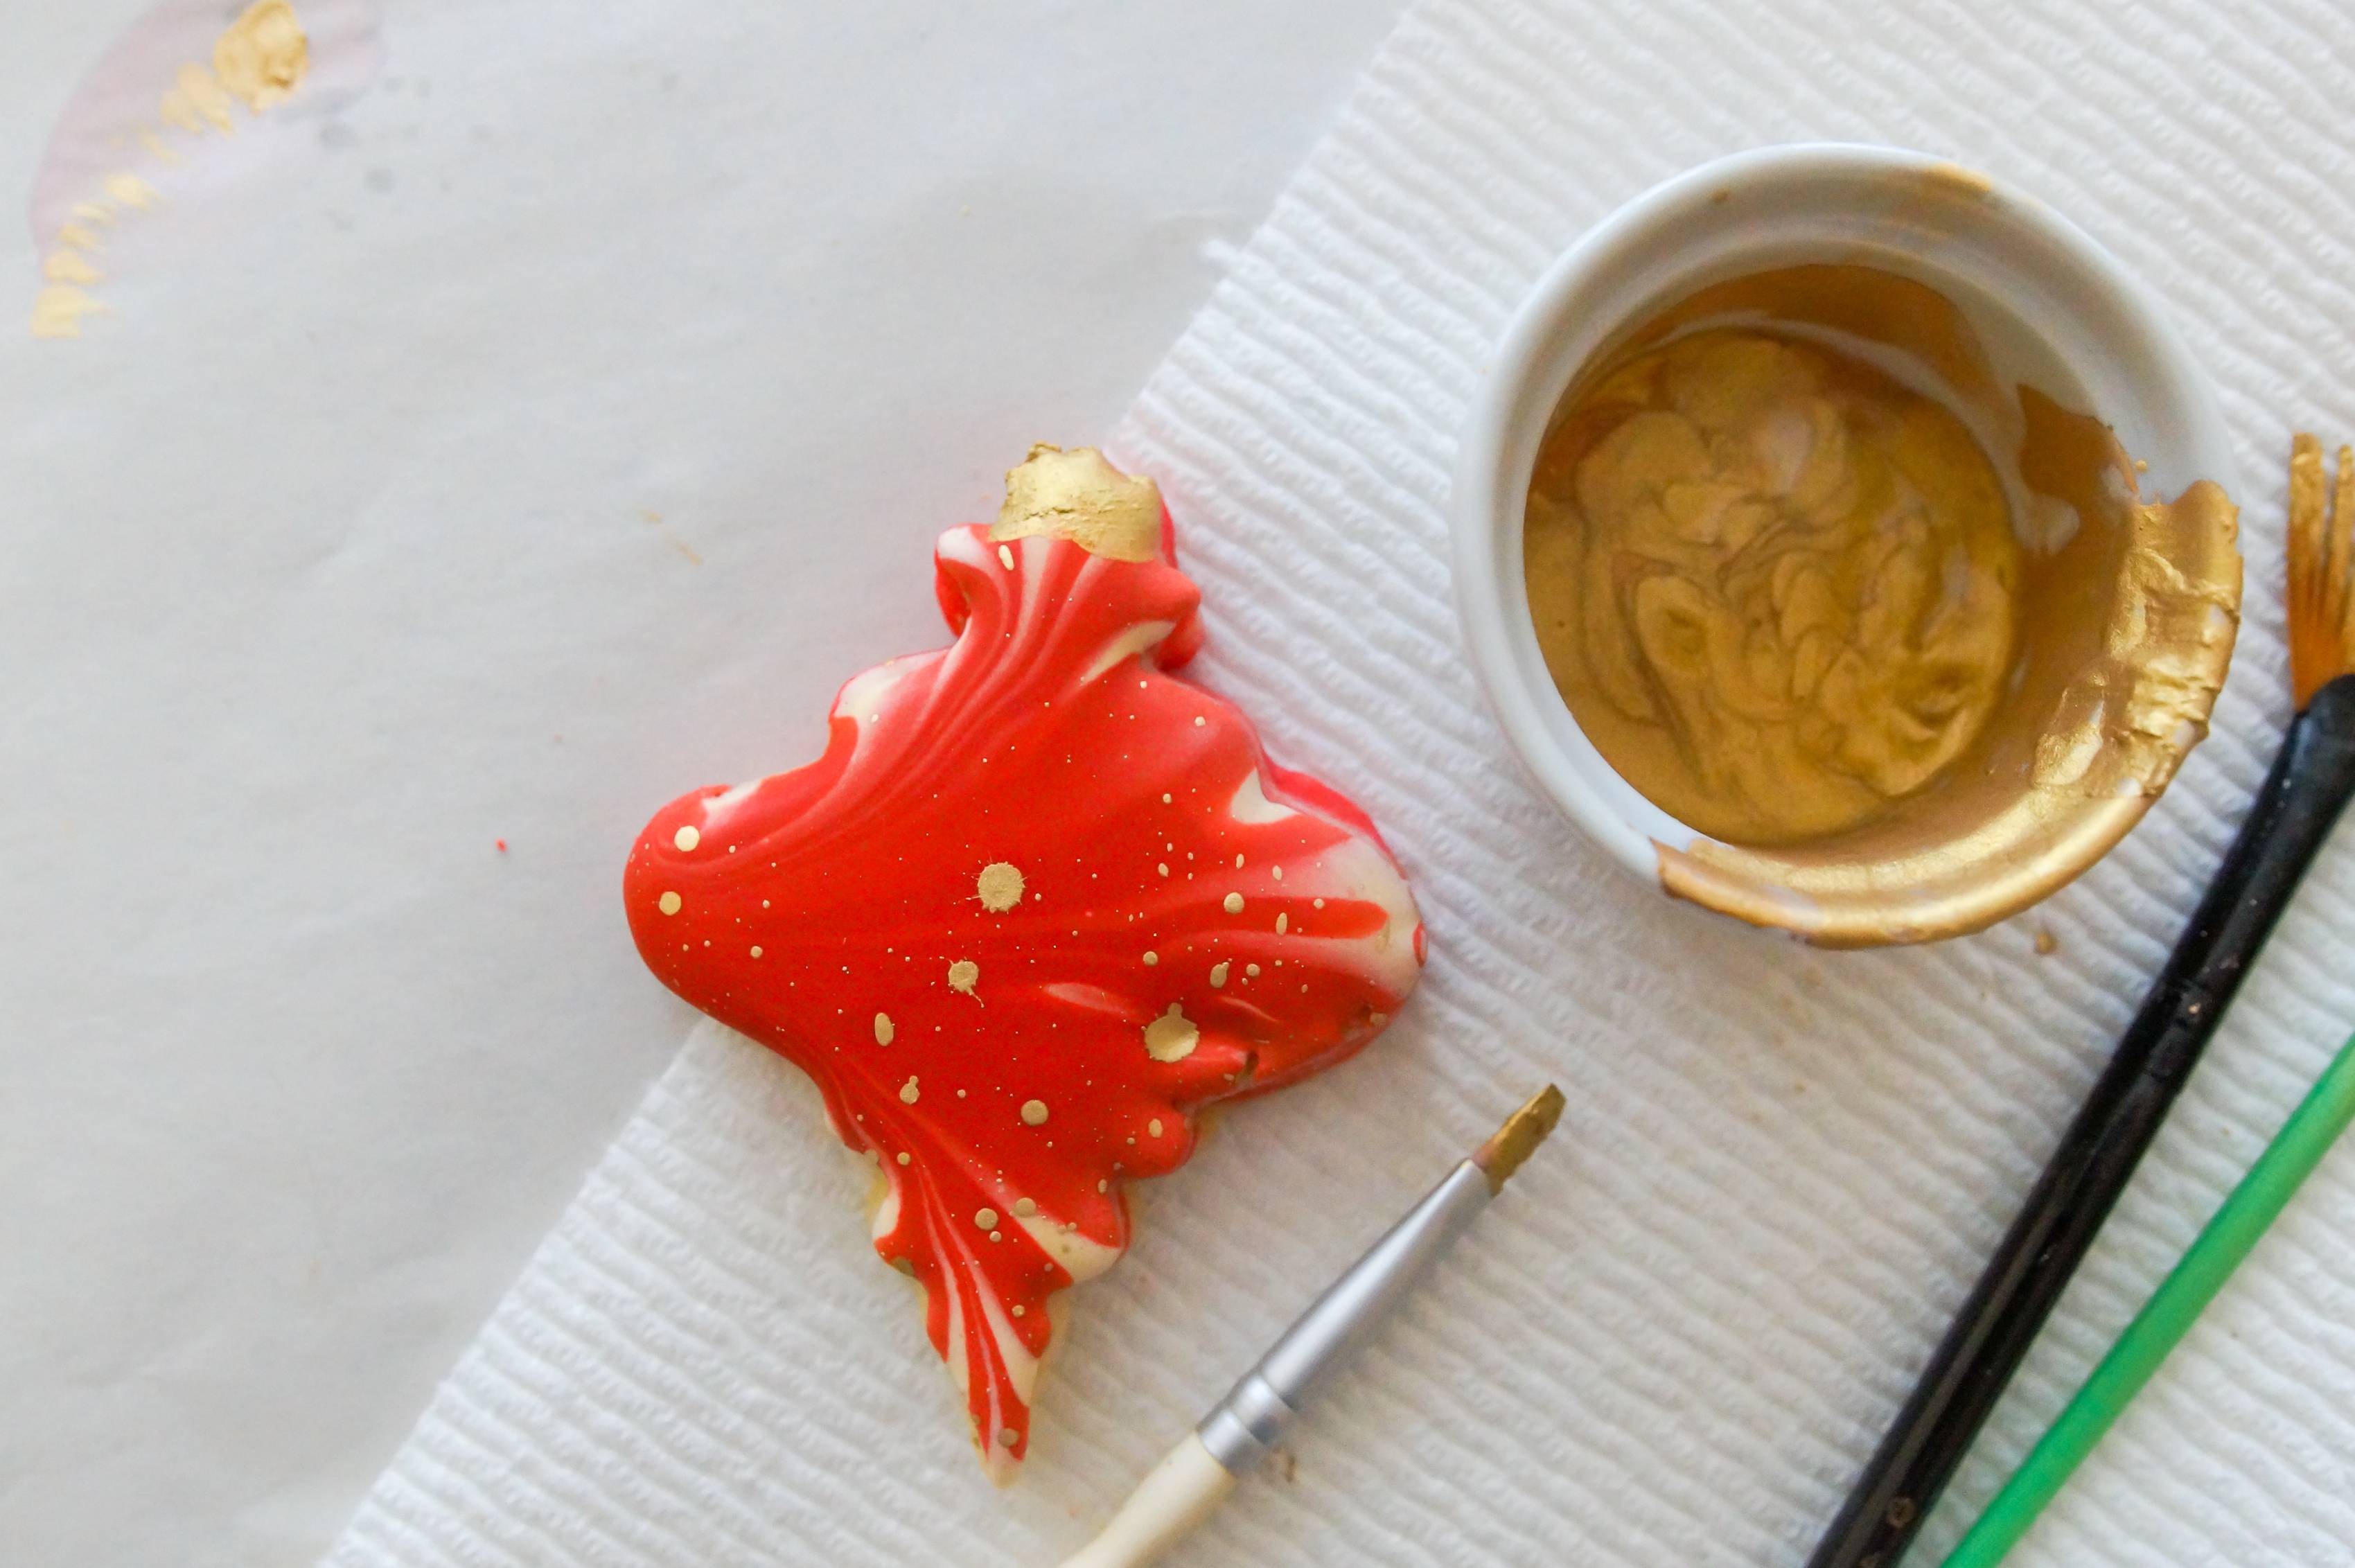
If desired, paint the top of each cookie with the remaining gold for the ornament.
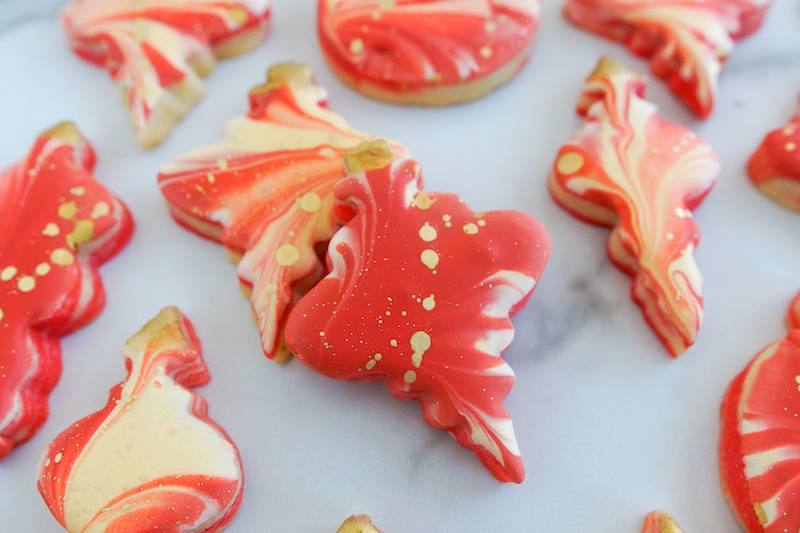
The gold dries quickly, so they’ll be ready for giving – or eating! – right away.
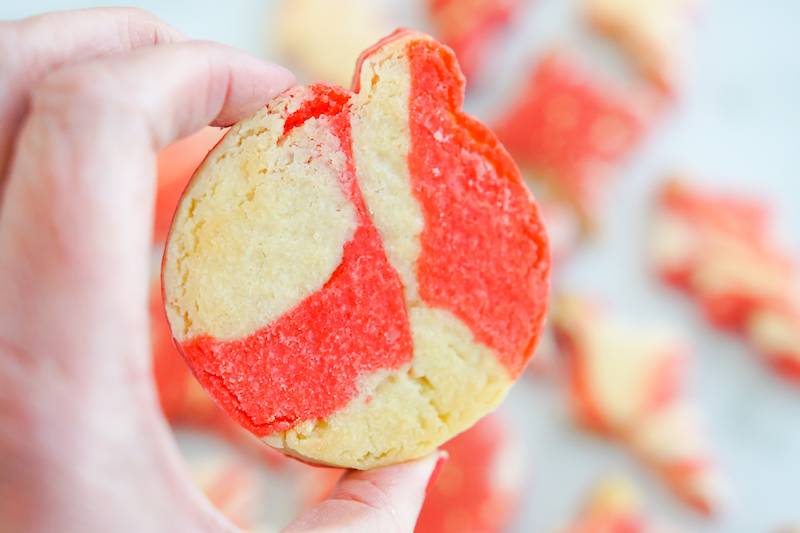
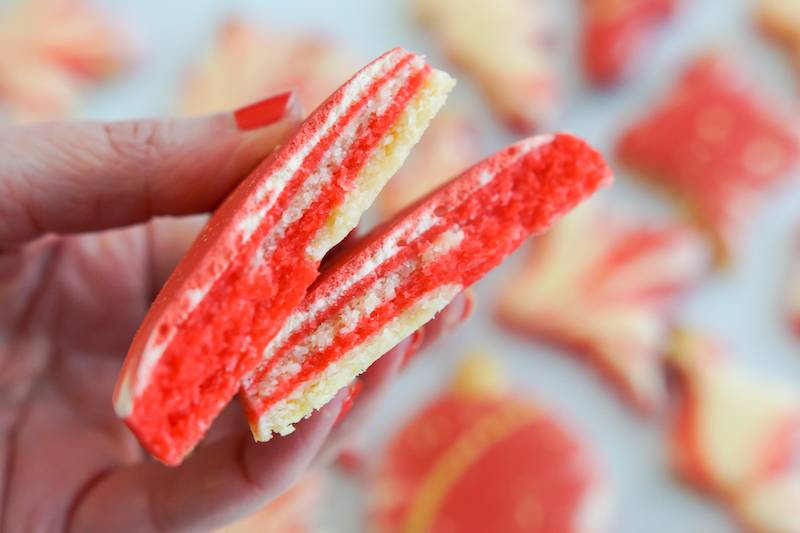
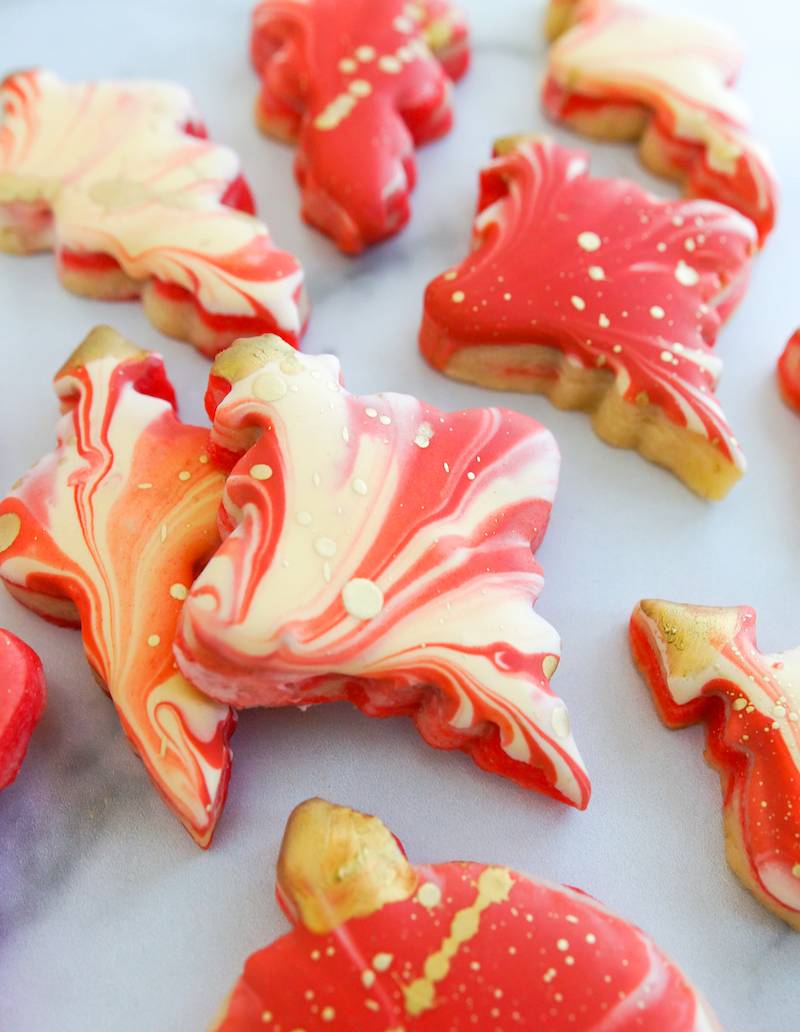
Look at that gorgeous swirled cookie on the bottom and the swirls on the inside! Christmas baking magic!
______________________________________________
Soft and thick with a nutty almond flavor, these cut-out cookies are delicious on their own or when covered in icing for decorating!
[Note: if decorating with royal icing, plan for an overnight drying time.]
Almond Cut-Out Cookies
- 3 cups unbleached, all-purpose flour
- 2 teaspoons baking powder
- 1 cup salted butter, cold and cut into chunks
- 1 cup Imperial Sugar Extra Fine Granulated Sugar
- 1 egg
- 1 teaspoon almond extract
- Dixie Crystals Royal Icing
Directions:
- Line cookie sheets with parchment. Preheat oven to 350°F.
- Whisk the flour and baking powder together. Set aside.
- Cream butter and sugar together for a few minutes until fluffy. Beat in the egg and extract. On low speed, add the flour mixture in three additions. Beat until just combined. You may need to knead in any dry bits in the bottom of the bowl by hand.
- Divide dough into two portions and tint one portion with red gel paste food coloring. You can use any color combination your heart desires, just be sure to use gel paste colorings.
- Tear off portions of each dough and press together, kneading lightly to combine. Take care not to mix them – think of Play-Doh – you don’t want to create a new color, just swirl them.
- On a floured surface, use a floured rolling pin to roll dough to 3/8” thickness. Cut with cookie cutters. To help prevent spreading, place shapes in freezer for 5-10 minutes before baking.
- Take remaining dough and press gently together one time and re-roll. To keep colors from getting muddled, re-roll only one time. Repeat with remaining dough, breaking off portions as you go.
- Bake for 8-13 minutes, depending on size of cookies. Cookies will not brown, but should look done in center. Rest on cookie sheet for 2 minutes, then remove to a wire rack to cool completely.
YIELD: 12-36 cookies, depending on size
PREP TIME: 15 minutes
BAKE TIME: 10 minutes
PIN IT NOW

How to Make Halloween Ghost Cupcake Cookies
Our friend and brand ambassador Bridget Edwards is back again to show us how to make these...
What is Meringue? French Meringue, Swiss Meringue & Italian Meringue Explained
If someone asked you, "what is meringue"? Would you say the light, piled-high, fluffy ...

7 Delicious Candied Nut Recipes
Are you stuck in a rut serving the same old snacks? Combine sweet and salty goodness into one...
Sign in or create an account
You need an account to like and rate recipes, comment, and share a recipe with the community.
Continue with Facebook