 then
then  Add DIXIE CRYSTALS to Home Screen

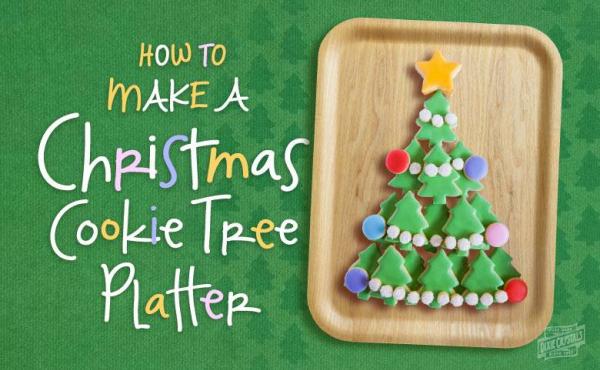
How to Make a Christmas Cookies Platter
Christmas is around the corner, and our friend and brand ambassador, Bridget Edwards, is back with us to celebrate. We loved her recent post about how to make pecan pie decorated cookies. She’s here today to show us how to make a Christmas cookie platter perfect for holiday parties with friends and family.
And now, here’s Bridget from Bake at 350!

If you’re looking for a statement Christmas cookie platter to bring to a holiday party without any complicated cookie decorating skills required, I have just the ticket for you. This Christmas tree Christmas cookie platter will be the star of any dessert table.

To make your Christmas cookies platter, you’ll need:
- Dixie Crystals sugar cookies recipe
- Dixie Crystals royal icing, double recipe
- Gel paste food coloring: green, yellow, blue, purple, red, pink, and white
- Disposable icing bags
- Coupler and #2 decorating tips
- Squeeze bottles
- Toothpicks
- White sparkling sugar
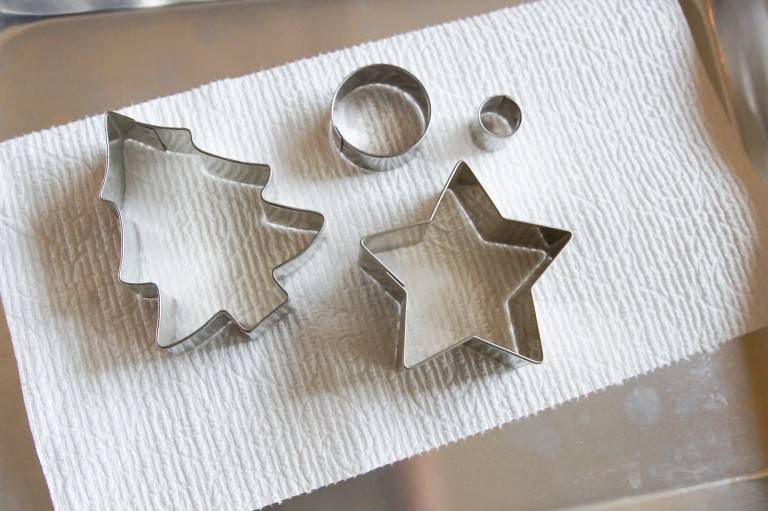
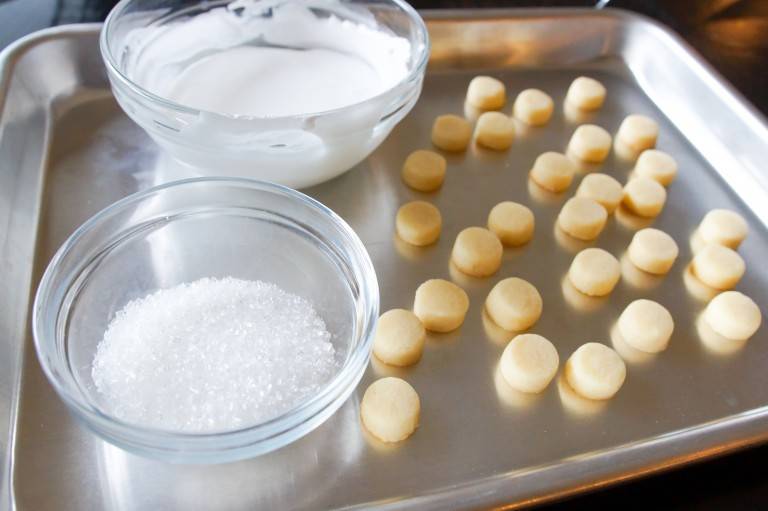
Make the cookie dough, rolling the cookies to 1/4 to 3/8” thick. Cut into shapes: tree, star, small circles, and tiny circles. (Hint: if you don’t have a tiny circle cookie cutter, use the end of a decorating tip.) Let them cool completely.
Make the royal icing. Divide into bowl and cover each with plastic wrap, pressing the wrap onto the icing to prevent crusting. Tint the icing green for the trees, several different colors for the ornaments, yellow for the stars, and white for the lights.
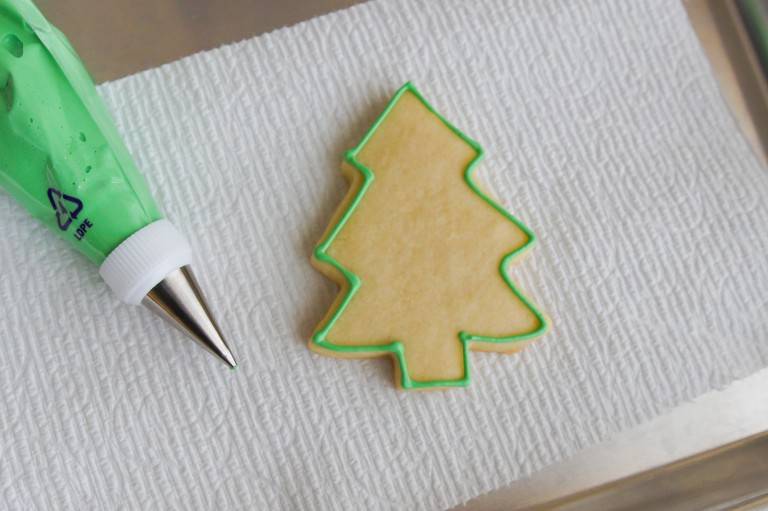
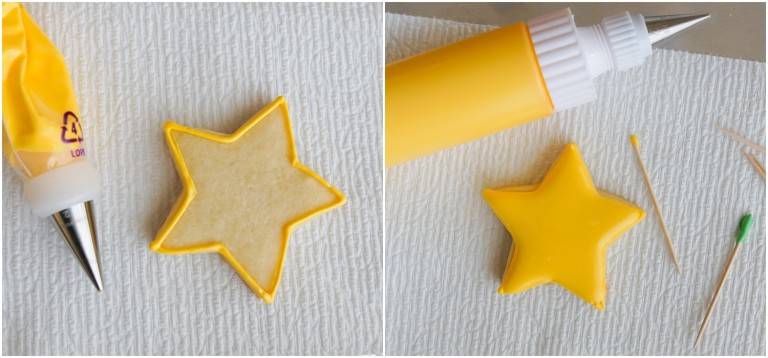
For the trees, outline using a #2 tip.
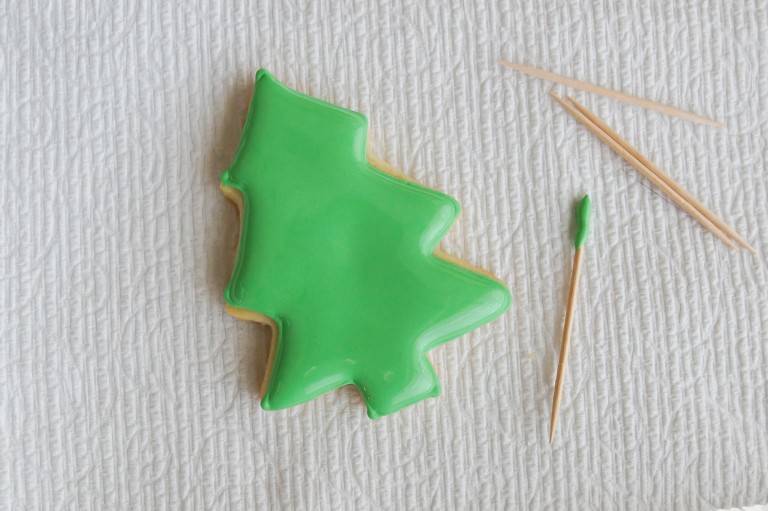
Thin the icing with water, a bit at a time, stirring with a silicone spatula. Add water until a ribbon of icing dropped back onto itself disappears in a count of “one-thousand-one, one-thousand-two.” If it is too thin, add in more sifted powdered sugar.
Cover the icing with a damp dish towel and let sit for several minutes. Stir gently to pop any large air bubbles and pour into a squeeze bottle. Flood the cookies with the thinned icing using a toothpick to guide to edges and pop air bubbles.
Repeat this process with the star cookie in yellow icing.
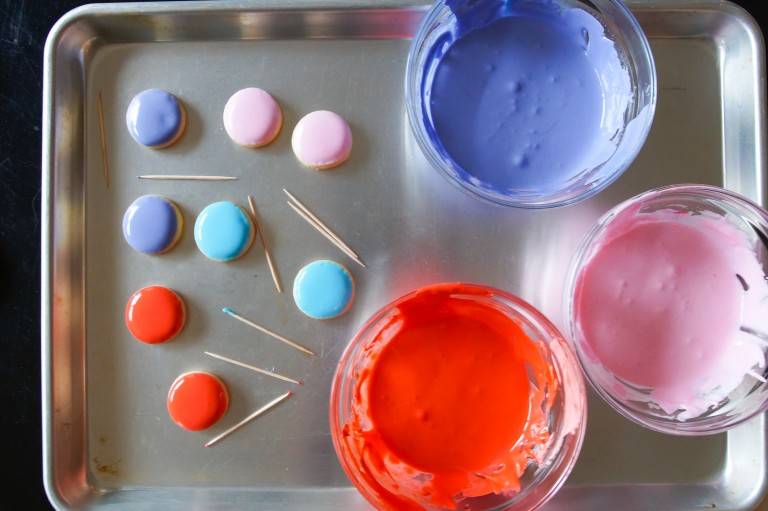
Since circles are notorious for being difficult to outline, we’re going with the dip method. Thin the icings as above, but make the ribbon of icing a bit thicker - a one-thousand-five or so count. It doesn’t have to be exact.
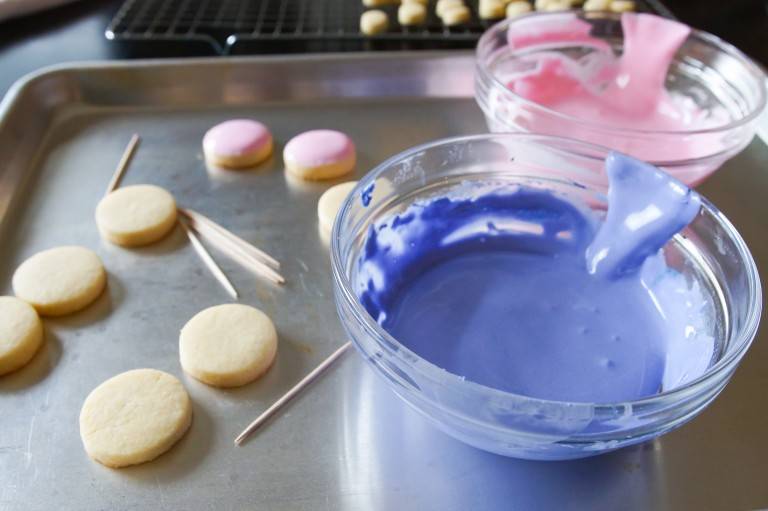
Dip the cookies face-down into the thinned icing, making sure to get the entire surface. Lightly scrape excess icing off on the side of the bowl.
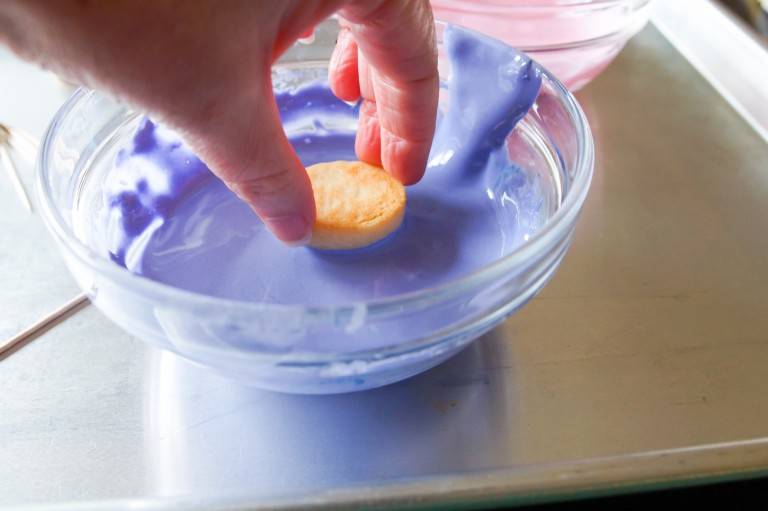
If you accidentally scrape too much, dip again. Shake each dipped cookie gently to distribute the icing. Pop air bubbles with a toothpick.
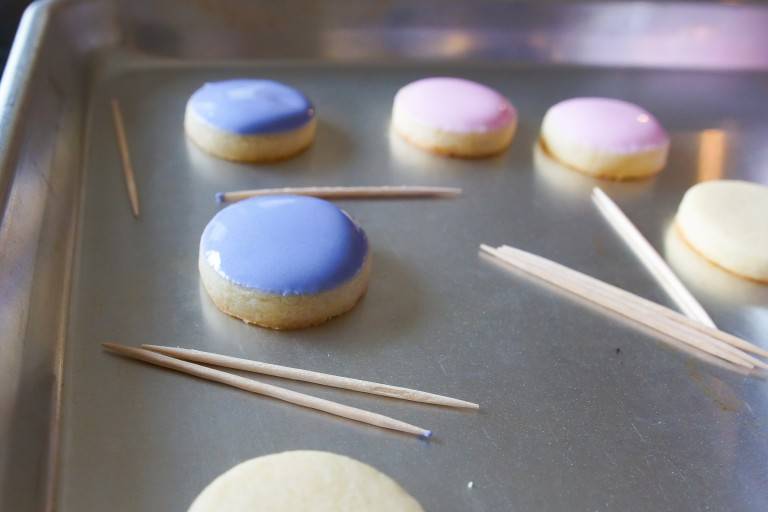
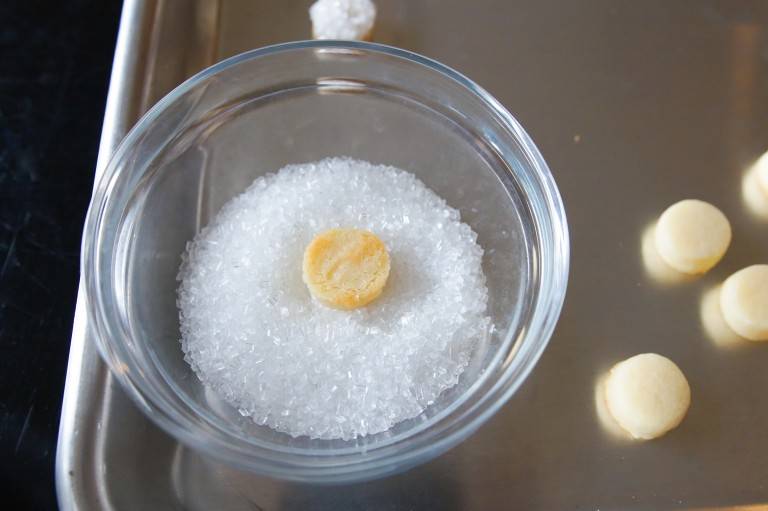
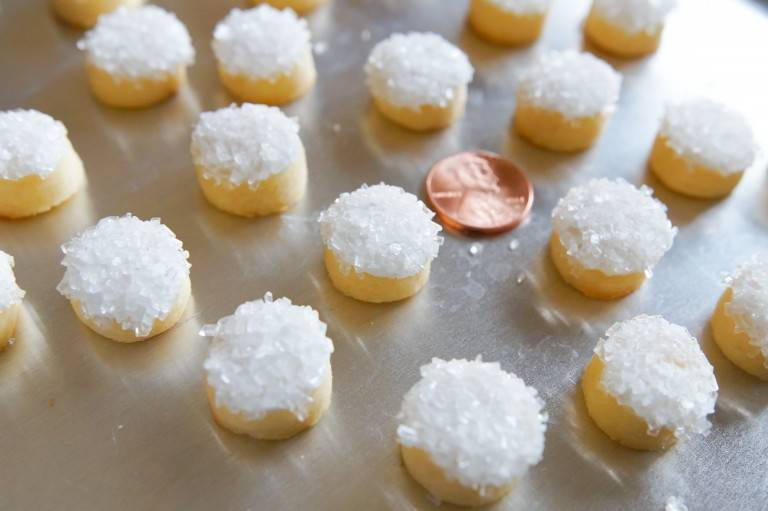
Repeat the process with the tiny cookies, but immediately dip them into sparkling sugar. These will be the tree's “twinkle lights.”
With a penny for reference, you can see how tiny these cookies are. Let the cookies dry uncovered for 6-8 hours or overnight.
When ready to serve, stack the tree cookies to make a tree shape. Add the ornaments on the sides and the twinkle light cookies across. Place a star cookie (I like to use 2 stacked) at the top.

Use as many cookies as you like, making a bigger or smaller tree depending on the size of your party. The Christmas tree pictured here has 16 tree cookies.

To see this platter assembled, check out our step-by-step, how-to video.
Happy holidays and happy cookie baking!
Blog Tags

Throwing the Perfect Holiday Party
Holiday party time is upon us. And that means it’s time to make the tough choices when it comes...
Baking with Non-Dairy and Alternative Milks
Look at any grocery store milk section and you’ll see a plethora of dairy and alternative ...

5 Cooking Utensils You Should Invest In
Unevenly baked cookies, soggy dough or a fallen cheesecake isn’t always the cook’s fault....
Sign in or create an account
You need an account to like and rate recipes, comment, and share a recipe with the community.
Continue with Facebook